Back to the Project Gallery Main Page
|
||||||||||||||||||||||||||||||||||||||||
|
|
Supplies you will need:
|
Instructions
I have been having a lot of fun and you will too. We're
really just going to touch on the possibilities of what you can do
with sprays and rubbing plates. There are so many variables that a
person could try. For all the background samples in this article I've
used white cardstock but you are certainly not limited to this.
|
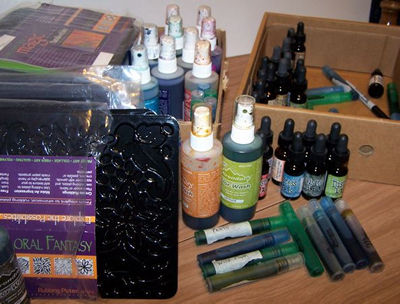
When they first came out with the Mini Mister bottles I resisted getting them. I thought they were too much money when you could go to a discount store and get spray bottles for less than a buck. But after hearing again and again how much nicer they were I finally decided I needed to give them a try and I've come to the conclusion that they are worth the extra money. And as you can see from the picture, I've invested in quite a number of them and I'm sure I'm not done yet :) They spray much nicer than the cheaper bottles and I like the size and how nice they fit in your hand. For this article I've used them to mix up distress ink sprays by putting one dropperful of Distress Ink reinker in the bottle and then adding water. Don't fill the bottle all the way up or when you put the sprayer back in and screw on the top it will overflow. I've also made lighter versions of the Adirondack Color Wash sprays by mixing them with water in the spray bottles. I prefer to use distilled water when mixing sprays to be sure that over time it doesn't go bad. If you like shimmery sprays you can also add a little bit of Perfect Pearls to the bottle and shake well before using. You could also make your own colors by mixing reinkers together. |
|||
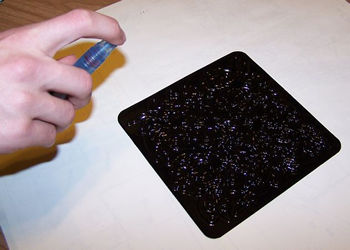 |
Cover your work area and lay a rubbing plate in the center. Spray the plate with one or more colors of spray. | ||
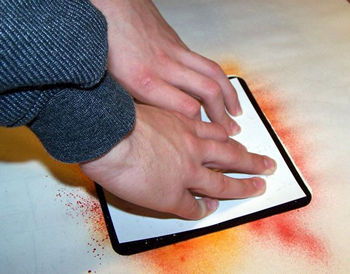 |
Lay a piece of paper over the plate and being sure to hold the paper steady, press and rub over the paper. Don't be too quick to remove the paper, allow time for it to absorb the liquid. | ||
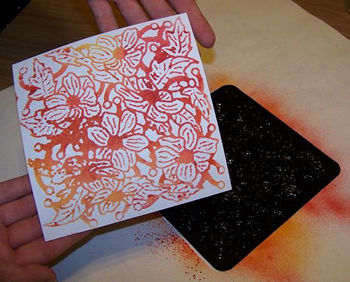 |
Pull the paper from the plate and you have a beautiful background. | ||
|
I'm going to show you seven different backgrounds and tell you what was used to make them. It's really just a beginning as there are many more rubbing plates. Also with each plate, you have two sides that will each give a different print. You starting mixing different colors of cardstock, different sprays, different plates, and even multiple printing on one paper and the options are endless for backgrounds.
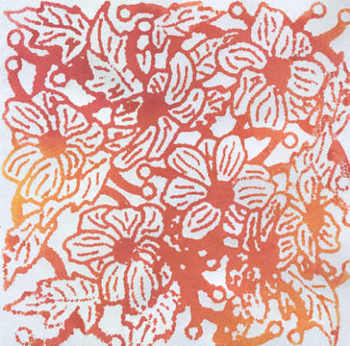
Background #1 The rubbing plate is from the Garden Flowers pack. Sprays are Distress Ink fired brick and Distress Ink spiced marmalade. |
|||
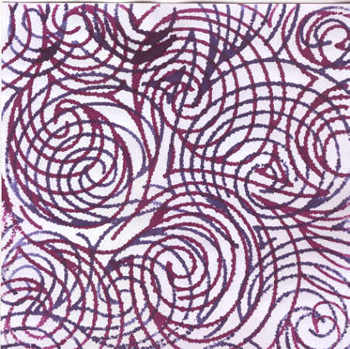 |
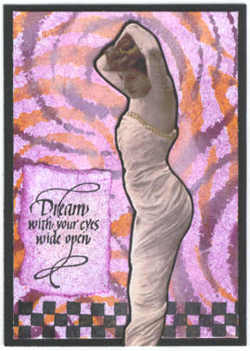
Background #2 On the back of my paper I marked one edge to be the top. I used a rubbing plate from the Curves pack. I sprayed the plate first with diluted Color Wash wild plum and made my print being sure my paper was top edge to the top. Next I turned the plate 90 degrees to the right, sprayed it with diluted Color Wash eggplant, and then printed the paper again keeping the top edge to the top. |
||
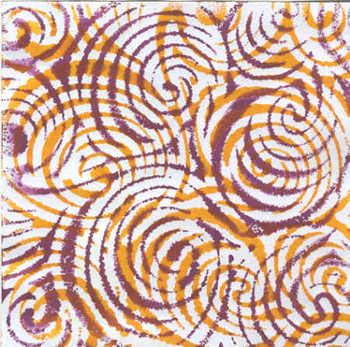 |
Background #3 This was done with the flip side of the same rubbing plate as background #2 using the same technique. The first printing was with diluted Color Wash butterscotch. The second printing was diluted Color Wash wild plum. |
||
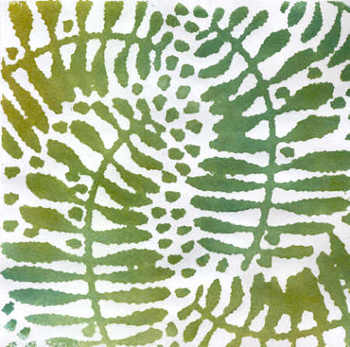 |
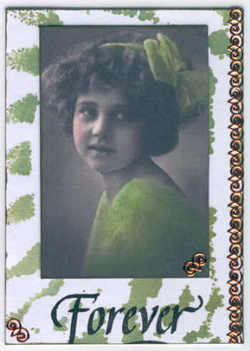
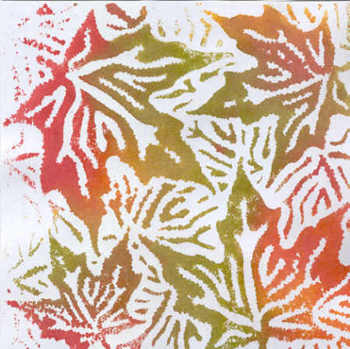
Background #4 The rubbing plate is from the Leaves pack. Sprays are Distress Ink shabby shutters, peeled paint, and pine needles. |
||
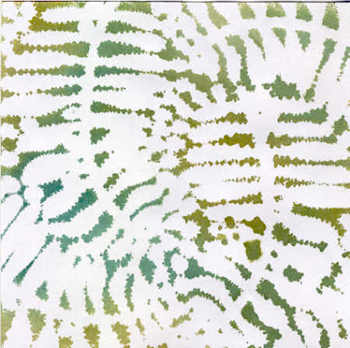 |
Background #5 This is the same rubbing plate as background #4 but the reverse side and I used the same colors as background #4. |
||
 |
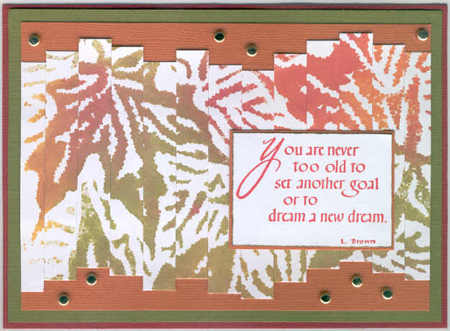
Background #6 The rubbing plate is from the Leaves pack. Sprays are Distress Ink peeled paint, fired brick, and spiced marmalade. |
||
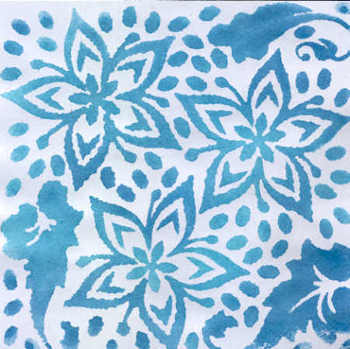 |
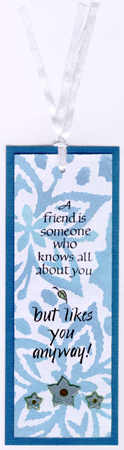
Background #7 The rubbing plate is from the Floral Fantasy pack. Sprays are Distress Ink broken china and faded jeans. |
||
|
|||
|
|
|||
|
|
|||
|
|||